
The creation of distribution points is something very important for a company with branches spread across the country or internationally. Any machine can act as a distribution point, but it makes more sense to deploy it on a Windows Server. However, if you want to deploy on a Windows 10 machine, be aware that your OS will not support multicast or PXE. Follow this tutorial to know how to create a distribution point.
Creating the distribution point
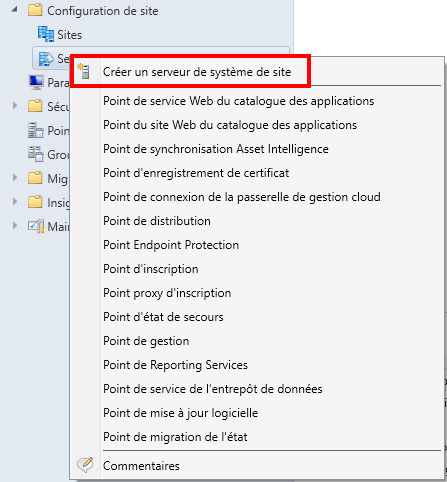
In the Administration tab, expand Site Configuration and then right click on Site System Servers and Roles, select Create Site System Server.
Then fill in the required fields:
- Name of the machine
- Site code
If necessary, specify the account to be used for the installation, then click on Next.

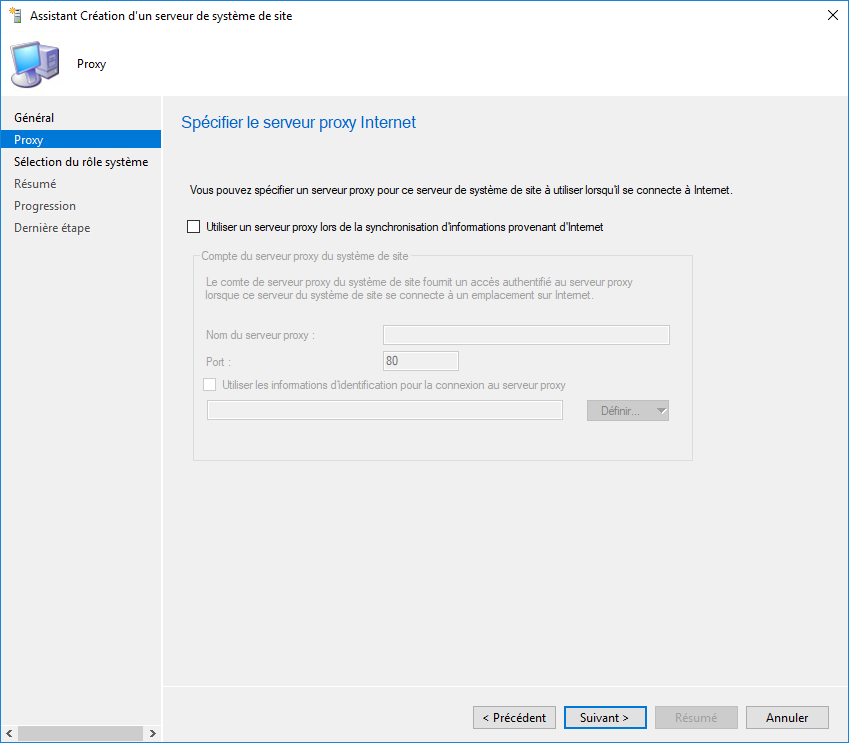
You can also specify your proxy server settings.
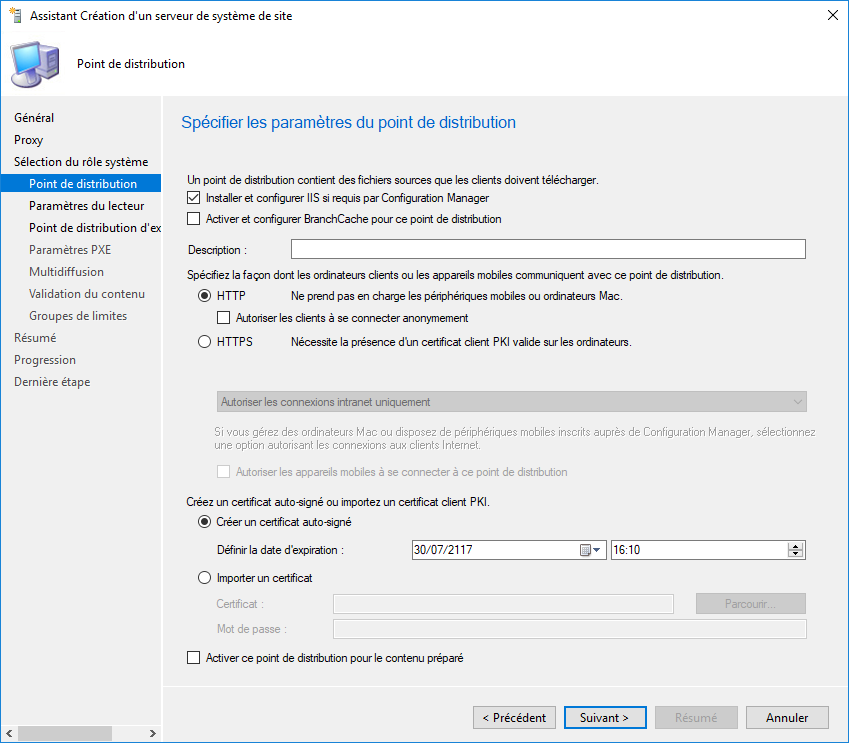
In the next window, you will have to select “Distribution point“, then click on Next.

Configuration
Then, it is mandatory that you check the box “Install and configure IIS if required by Configuration manager” . You can leave the rest by default, even if it is possible to make your clients communicate in HTTPS with the distribution point. It is necessary that a certificate is present. By default, SCCM uses a self-signed certificate valid for 99 years. The last checkbox allows the server to receive pre-configured content, which can be interesting if the clients’ throughput is low.
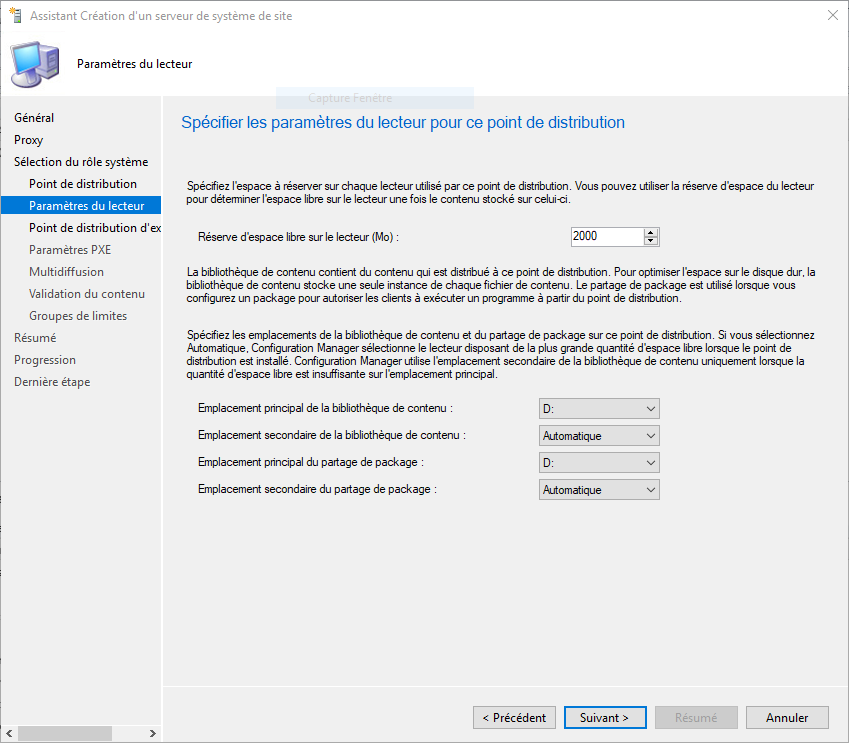
On the next page you will have to configure the space you reserve for the system. You must then choose on which drives the data will be stored. By default, in automatic mode, the server will choose the drives with the most available space.
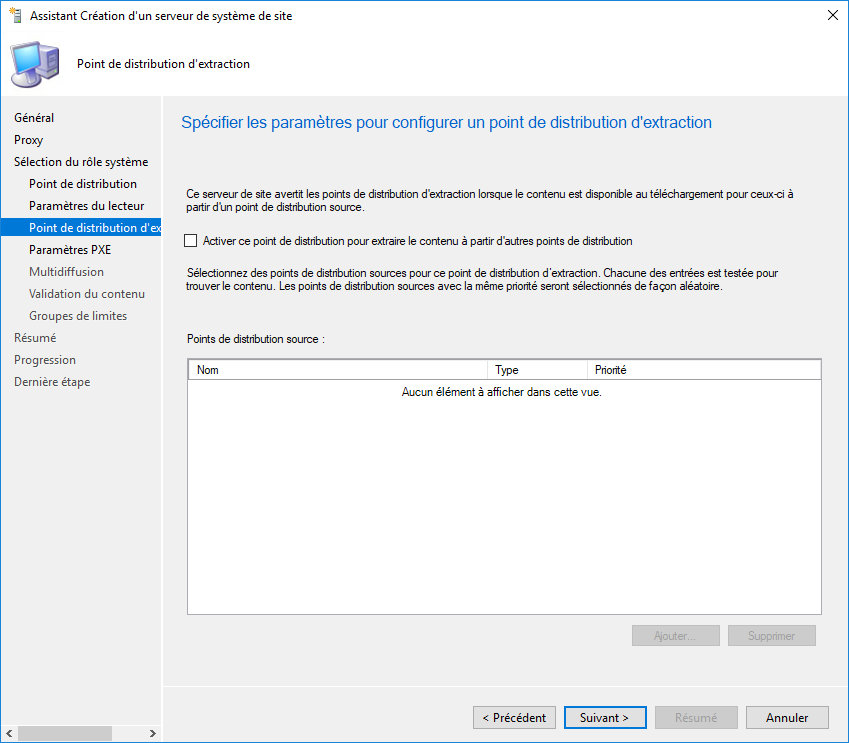
The next window offers you to allow the distribution point to rely on another distribution point to retrieve the data. This option can be particularly interesting if the throughput between your point and your primary server is lower than with another distribution point. Check if you really need it and then click on next.
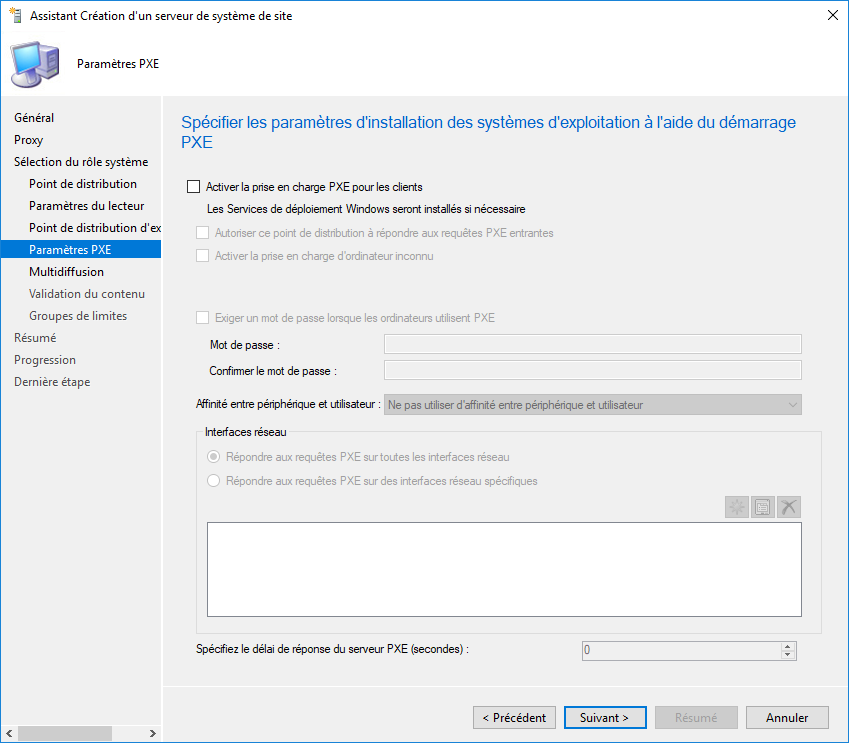
Next, you can choose to enable PXE to deploy masters from this distribution point. Activation will cause the WDS role to be installed on the server. As a reminder, PXE requests go through UDP ports 67, 68, 69 and 4011. Click Next.
For your information, Microsoft has published the list of ports used by SCCM.
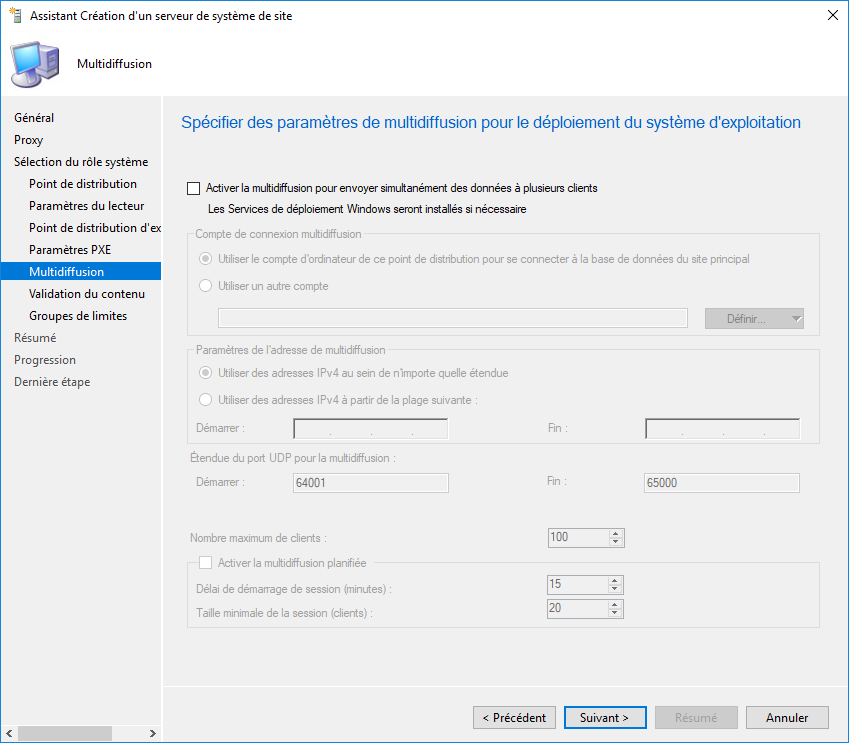
You can choose to activate or not the multicast. It is not mandatory to enable it. Click on Next.
Content validation allows you to verify the integrity of packages at the distribution point by scheduling a recurring task.

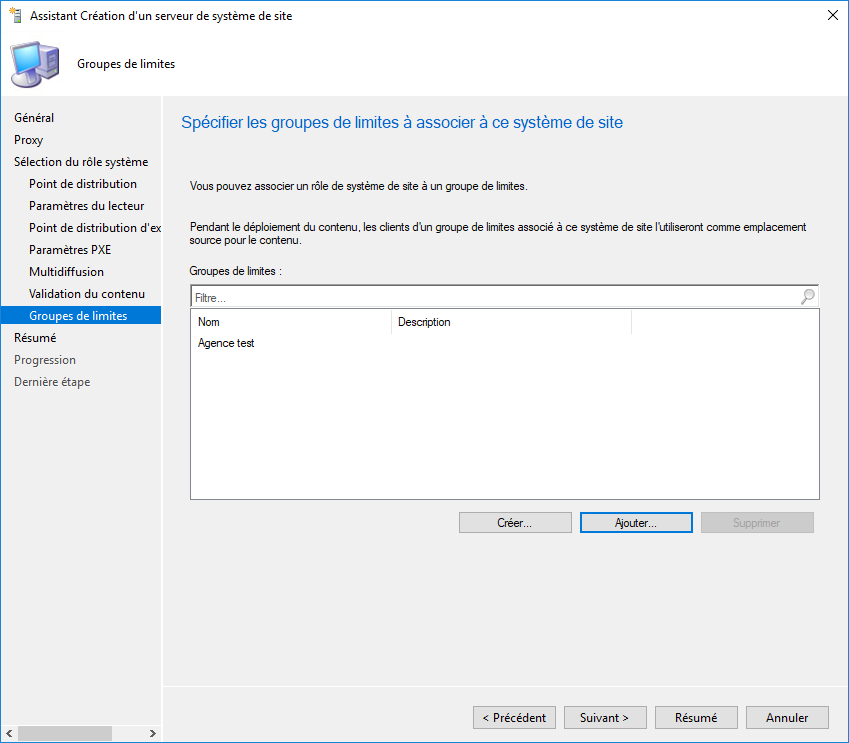
On the last configuration page, you can specify the limit groups. You can directly add them or create a new one if you haven’t already done so.
The wizard then summarizes your configuration, click Next and Finish. You have just created your distribution point and the applications will soon be deployed.
Verification of the creation
Log on and you should see the folders below.

The distribution point is now created, you can start distributing your packages on it.


Pingback: How to clean distribution points